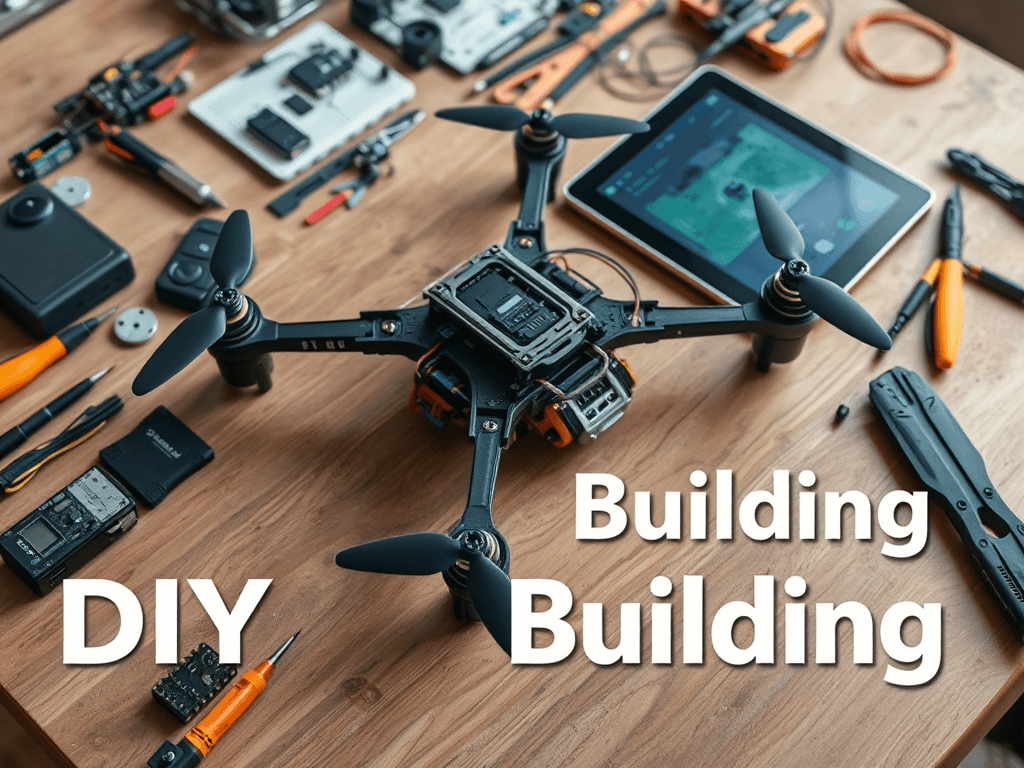
Ready to take flight without breaking the bank? Imagine soaring through the skies with a drone you built with your own hands – all for less than the cost of a fancy dinner out. Sound too good to be true? Think again!
In the world of FPV (First Person View) drones, high prices often ground enthusiasts before they can even lift off. But what if we told you that you could build a custom 7″ long-range FPV drone for just $150? 🤯 That’s right – for the price of a budget smartphone, you could be piloting your very own flying machine, capturing breathtaking aerial footage, and experiencing the thrill of FPV flight.
From selecting the perfect parts to configuring Betaflight, we’ve got you covered every step of the way. Whether you’re a seasoned drone enthusiast or a curious beginner, our comprehensive guide will walk you through building your dream flying machine. So, are you ready to embark on an exciting DIY journey that will have you soaring through the skies in no time? Let’s dive in and explore how you can create your own affordable, high-performance FPV drone!
Custom 7″ Long Range FPV drone Build for $150. Our guide provides the parts and details to start your FPV journey today!
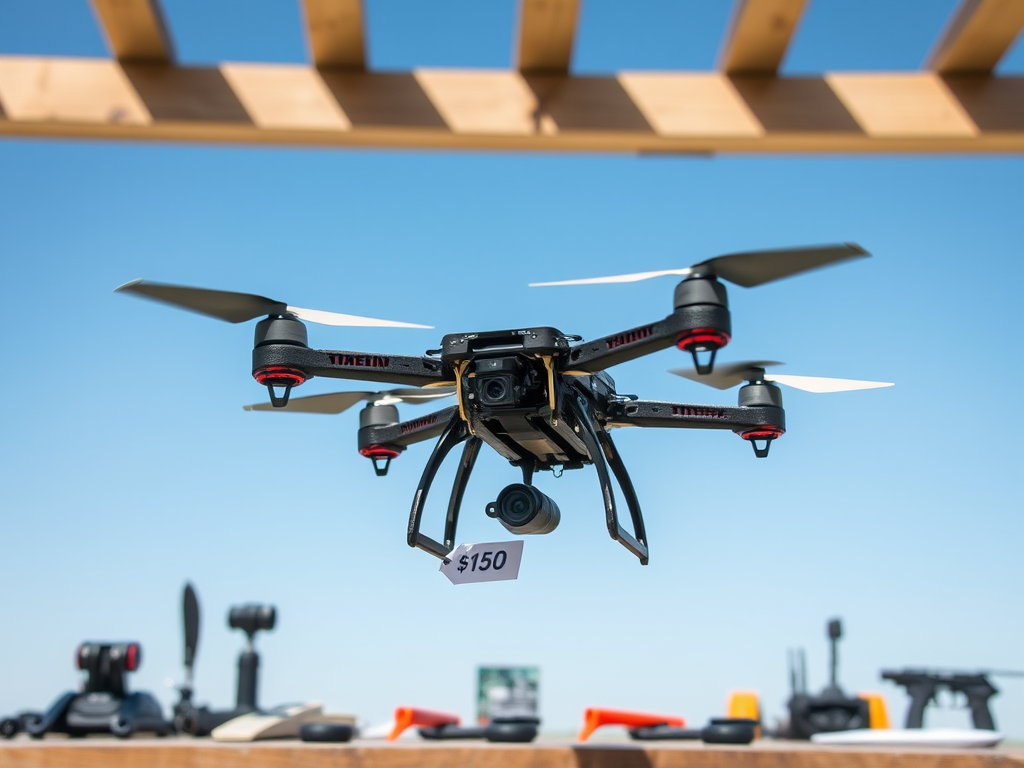
Why Build a Custom 7″ Long Range FPV Drone?
Building a custom 7″ long-range FPV drone offers several advantages over pre-built models:
- Cost-effectiveness
- Customization options
- Learning experience
- Improved performance
$150 Budget Breakdown
Here’s a breakdown of the approximate costs for each component:
| Component | Approximate Cost |
|---|---|
| Frame | $30 |
| Motors | $40 |
| Flight Controller | $20 |
| ESC | $25 |
| FPV Camera | $15 |
| Video Transmitter | $20 |
Key Features of Our 7″ Long Range FPV Drone
- Extended flight time (up to 20 minutes)
- Long-range capabilities (2-3 km)
- High-quality FPV feed
- GPS-enabled for return-to-home function
Getting Started with FPV
To begin your FPV journey:
- Familiarize yourself with local drone laws
- Practice on a simulator before flying
- Join local FPV communities for support
- Start with shorter flights and gradually increase range
Building your own 7″ long-range FPV drone is an exciting project that offers a perfect balance of affordability and performance. With our guide, you’ll be able to create a custom drone tailored to your needs while staying within a budget of $150. Now, let’s dive into the specific parts you’ll need for this build.
Parts List
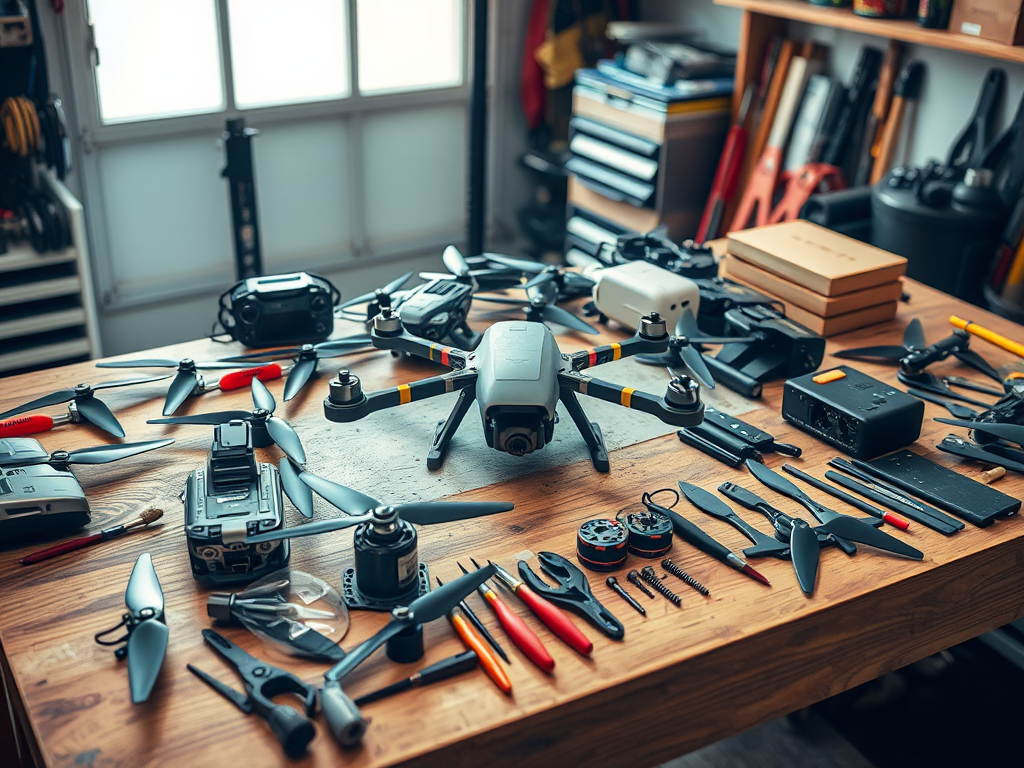
Parts List
When embarking on your DIY drone building journey, having the right components is crucial. Here’s a comprehensive list of essential parts you’ll need to create your custom 7″ long-range FPV drone:
Frame Components
- 7″ drone frame
- 4x motor arms
- Center plate
- Top plate
- Hardware (screws, standoffs)
Electronics
- Flight controller
- 4x ESCs (Electronic Speed Controllers)
- 4x brushless motors
- Power distribution board (PDB)
FPV System
- FPV camera
- Video transmitter (VTX)
- VTX antenna
- FPV goggles (not included in the $150 budget)
Control and Navigation
- Radio receiver
- GPS module (optional)
Power Source
- LiPo battery (4S or 6S)
- XT60 connector
Propulsion
- 4x 7″ propellers (2 clockwise, 2 counter-clockwise)
Here’s a comparison table of some key components:
| Component | Recommended Spec | Budget Option | Performance Option | Price |
|---|---|---|---|---|
| Motors | 2306-2450KV | RacerStar 2306 | T-Motor F60 Pro IV | check on amazon |
| ESCs | 35A 4-in-1 | Racerstar 35A | Hobbywing XRotor | check on amazon |
| Flight Controller | F4 or F7 | Matek F405-CTR | DJI F722 Dual | check on amazon |
Remember, while building a budget drone, it’s essential to balance cost with quality. Investing in reliable components can save you money in the long run by reducing the need for frequent replacements.
Flight Time and Range
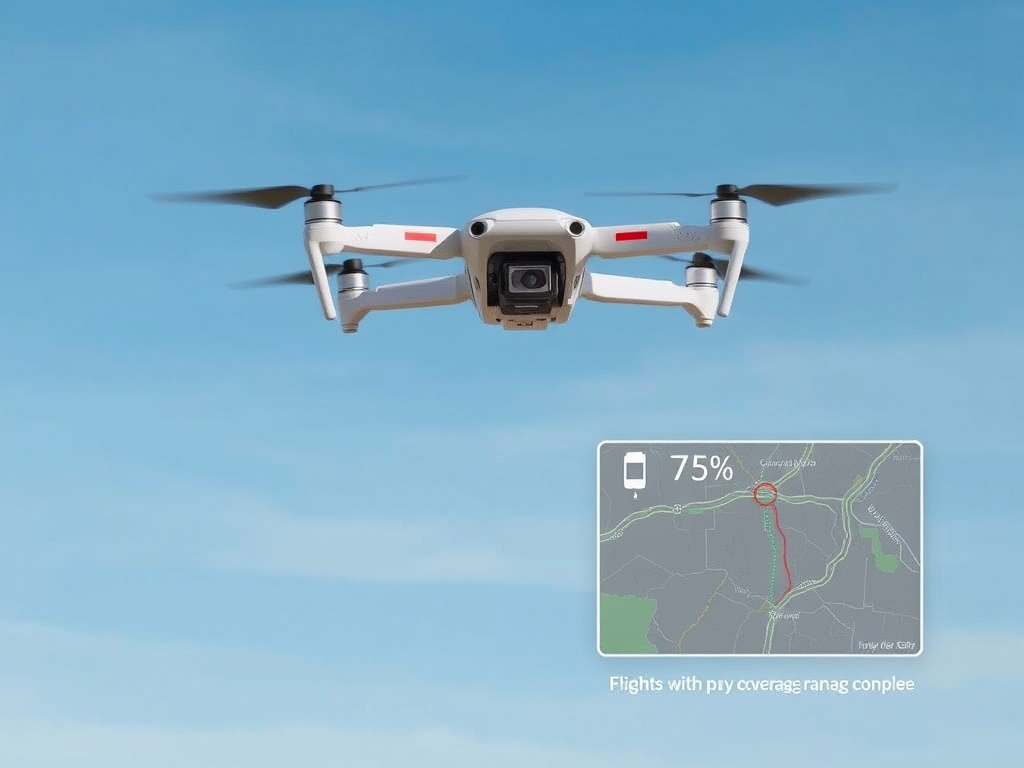
Flight Duration
The flight time of this custom 7″ long-range FPV drone is impressive, offering approximately 20-25 minutes of airtime on a single battery charge. This extended flight duration allows for longer exploration and filming sessions, making it ideal for both beginners and experienced pilots. Click here for more drones wit their flight specs
Range Capabilities
With its long-range setup, this DIY drone can achieve distances of up to 5-7 kilometers, depending on environmental conditions and local regulations. This exceptional range opens up new possibilities for aerial photography and videography in remote locations.
| Feature | Specification |
|---|---|
| Flight Time | 20-25 minutes |
| Range | 5-7 kilometers |
Factors Affecting Performance
Several factors contribute to the drone’s impressive flight time and range:
- Efficient motor and propeller combination
- High-capacity battery (4S 3000mAh recommended)
- Lightweight frame design
- Aerodynamic configuration
- Low-power consumption components
Optimizing Flight Time and Range
To maximize your drone’s performance:
- Choose calm weather conditions
- Maintain line of sight when possible
- Monitor battery levels closely
- Use efficient flying techniques (e.g., minimal aggressive maneuvers)
- Regularly calibrate and update flight controller settings
With these impressive flight time and range capabilities, this DIY drone build offers excellent value for its affordable price point. Next, we’ll delve into the specifics of the affordable 7″ FPV drone kit that makes this build possible.
Affordable 7″ FPV Drone Kit
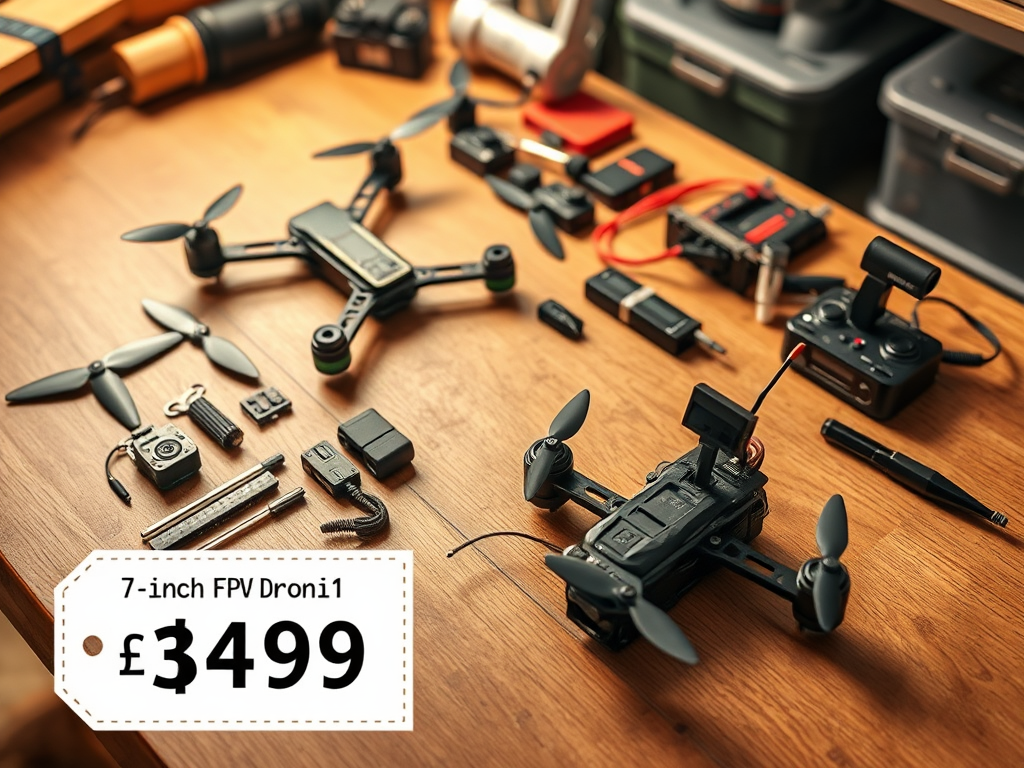
Affordable 7″ FPV Drone Kit
Now that we’ve covered the essential components, let’s dive into the heart of our DIY drone project: the affordable 7″ FPV drone kit. This kit forms the backbone of your custom flying machine, offering a perfect balance between performance and cost-effectiveness.
A. Frame
The frame is the skeleton of your drone, providing structure and stability. For our budget-friendly build, we recommend the HGLRC Sector 7 V2 frame. This durable carbon fiber frame offers:
- Lightweight yet robust construction
- 7-inch arm length for increased stability
- Ample space for component mounting
B. Flight Controller
At the core of your drone’s brain is the flight controller. We suggest the Mamba F722S MK2 for its:
- F7 processor for smooth flight performance
- Integrated OSD for real-time flight data
- Multiple UART ports for easy peripheral connections
C. ESC
The Electronic Speed Controller (ESC) regulates power to your motors. The Mamba F60 PRO 32bit 60A BLHeli_32 4-in-1 ESC is an excellent choice, offering:
- 60A continuous current rating
- BLHeli_32 firmware for advanced features
- 4-in-1 design for simplified wiring
D. Motors
Propulsion comes from your motors. We recommend the EMAX ECO II 2306 1900KV motors for their:
- Efficient power-to-weight ratio
- Durable construction for long-term reliability
- Compatibility with 6S LiPo batteries
| Component | Recommended Model | Key Features |
|---|---|---|
| Frame | HGLRC Sector 7 V2 | Carbon fiber, 7″ arms |
| Flight Controller | Mamba F722S MK2 | F7 processor, integrated OSD |
| ESC | Mamba F60 PRO 32bit | 60A rating, 4-in-1 design |
| Motors | EMAX ECO II 2306 1900KV | Efficient, 6S compatible |
With these components, you’re well on your way to building a high-performance, long-range FPV drone without breaking the bank. Next, we’ll explore the video transmission system that will bring your aerial footage to life.
Video Transmitter
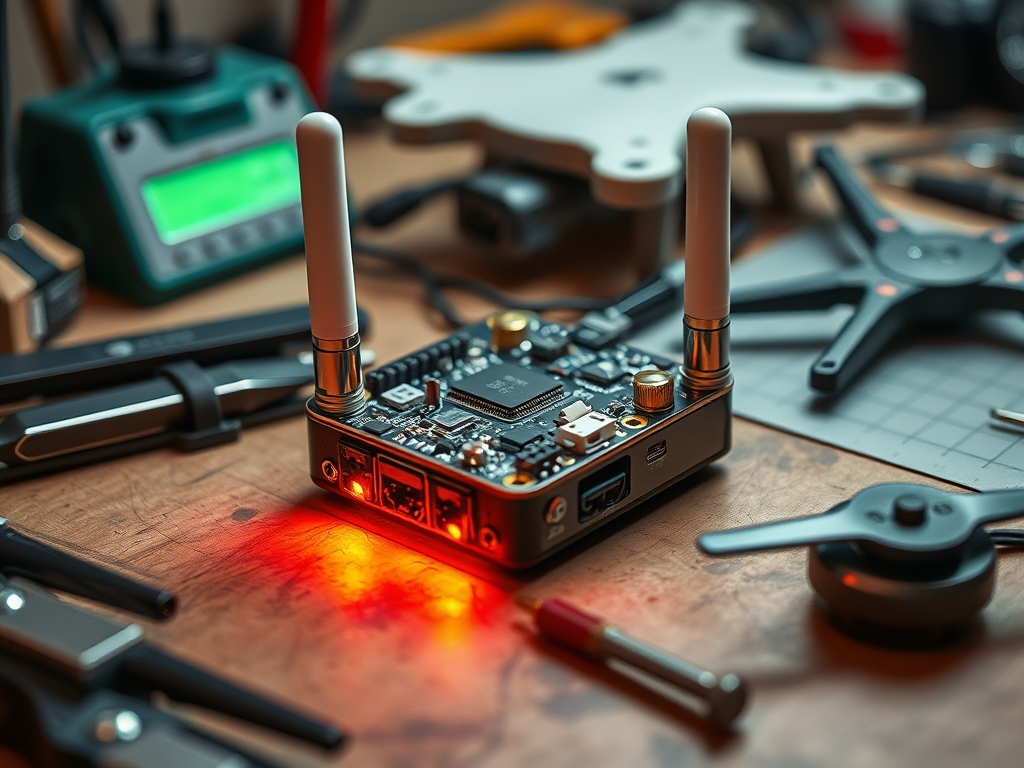
Video Transmitter Selection
When building your DIY drone, choosing the right video transmitter (VTX) is crucial for a smooth FPV experience. Here’s what you need to know:
Power Output Options
| Power Output | Range | Battery Consumption | Legal Considerations |
|---|---|---|---|
| 25mW | Short | Low | Generally allowed |
| 200mW | Medium | Moderate | Check local laws |
| 600mW | Long | High | Often restricted |
Key Features to Consider
- Frequency band compatibility (usually 5.8GHz)
- Smart Audio for remote control
- Heat dissipation capabilities
- Size and weight for optimal drone balance
Recommended VTX for Budget Builds
- RushFPV Tank Ultimate Plus
- TBS Unify Pro32 Nano
- Eachine TX805
These options offer a good balance of performance and affordability for DIY drone builders. Remember to match your VTX with your chosen FPV goggles and antenna for the best results.
Installation Tips
- Mount the VTX away from heat-sensitive components
- Use quality connectors to prevent signal loss
- Consider a VTX with built-in voltage regulation for simplified wiring
Now that we’ve covered the essentials of video transmitters, let’s move on to selecting the right FPV camera to pair with your VTX for optimal image quality and performance.
FPV Camera
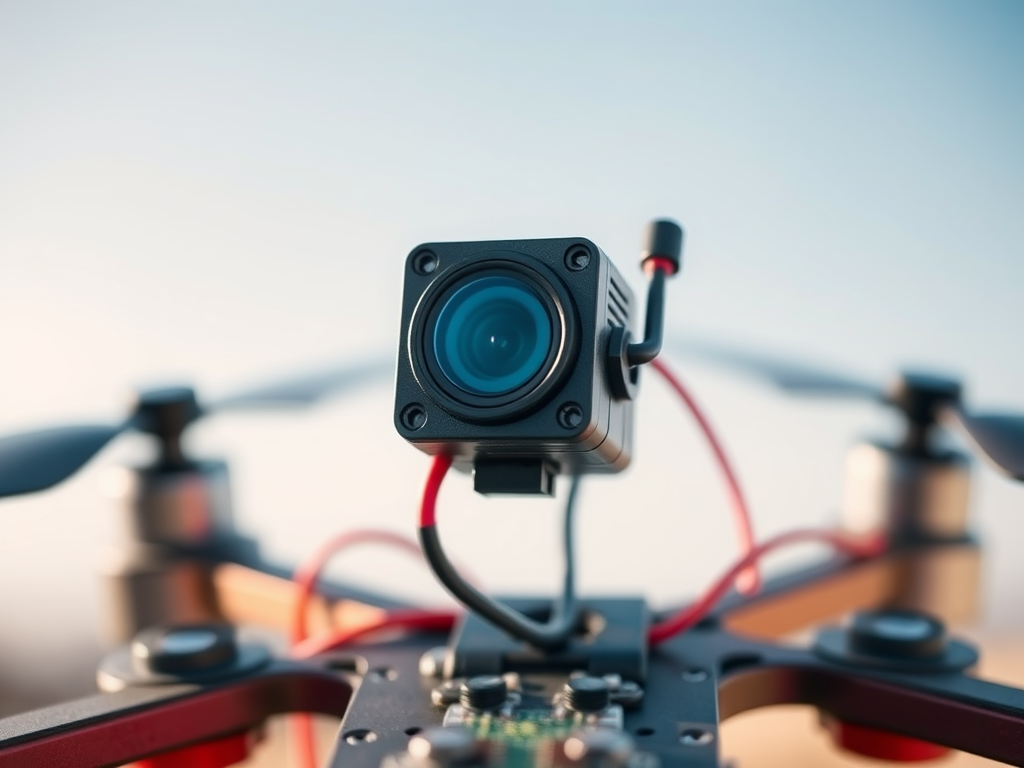
FPV Camera Selection
When it comes to DIY drone building, choosing the right FPV (First Person View) camera is crucial for an immersive flying experience. Here are some key factors to consider:
Resolution and Frame Rate
| Resolution | Frame Rate | Ideal Use Case |
|---|---|---|
| 1080p | 60fps | Smooth footage |
| 720p | 120fps | Fast-paced flying |
| 4K | 30fps | Cinematic shots |
Field of View (FOV)
- Wide FOV (150°-170°): Provides a broader perspective, ideal for racing
- Narrow FOV (90°-120°): Offers more detail, suitable for precision flying
Low Light Performance
- CCD sensors: Better for low light conditions
- CMOS sensors: More affordable, good for daylight flying
Latency
Choose a camera with low latency (under 40ms) for responsive piloting. Some popular FPV camera options for DIY drone building include:
- Runcam Phoenix 2 Nano
- Foxeer Predator V5 Nano
- Caddx Ratel 2
Remember to match your camera choice with your video transmitter capabilities for optimal performance. Next, we’ll explore the importance of GPS in your custom drone build.
GPS
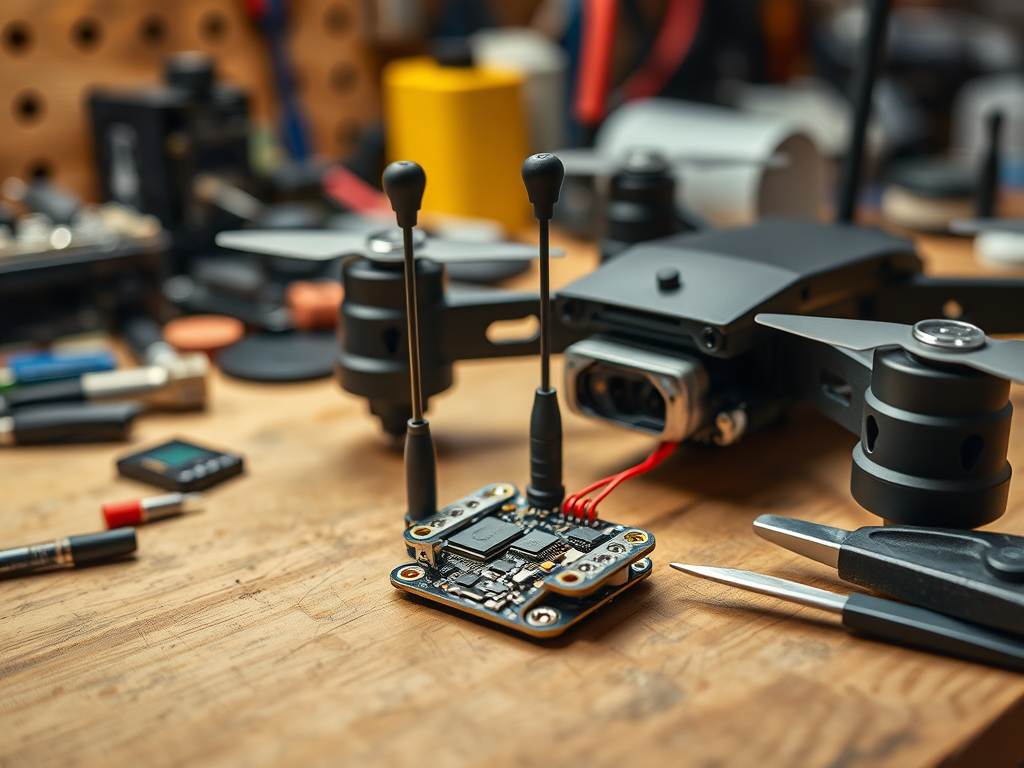
GPS Module Selection
When building your DIY drone, selecting the right GPS module is crucial for enhancing navigation and flight stability. For our $150 long-range FPV drone build, we recommend the BN-220 GPS module. This compact and affordable option offers excellent performance for its price point.
Key Features of BN-220 GPS Module
- Size: 22mm x 20mm
- Weight: 6g
- Voltage: 3.3V-5V
- Baud Rate: 9600bps
| Feature | Benefit |
|---|---|
| Compact size | Easy integration into small drone builds |
| Lightweight | Minimal impact on flight time and performance |
| Wide voltage range | Compatible with various power systems |
| UBLOX M8N chipset | Accurate positioning and fast satellite lock |
Installation Tips
- Mount the GPS module on the top plate of your drone frame
- Keep it away from other electronic components to minimize interference
- Ensure the antenna has a clear view of the sky for optimal signal reception
- Use nylon standoffs to elevate the module slightly for better performance
By incorporating a GPS module like the BN-220 into your DIY drone build, you’ll unlock features such as position hold, return-to-home, and waypoint navigation. These capabilities significantly enhance your flying experience and provide an extra layer of safety for your custom-built drone.
Radio Receiver
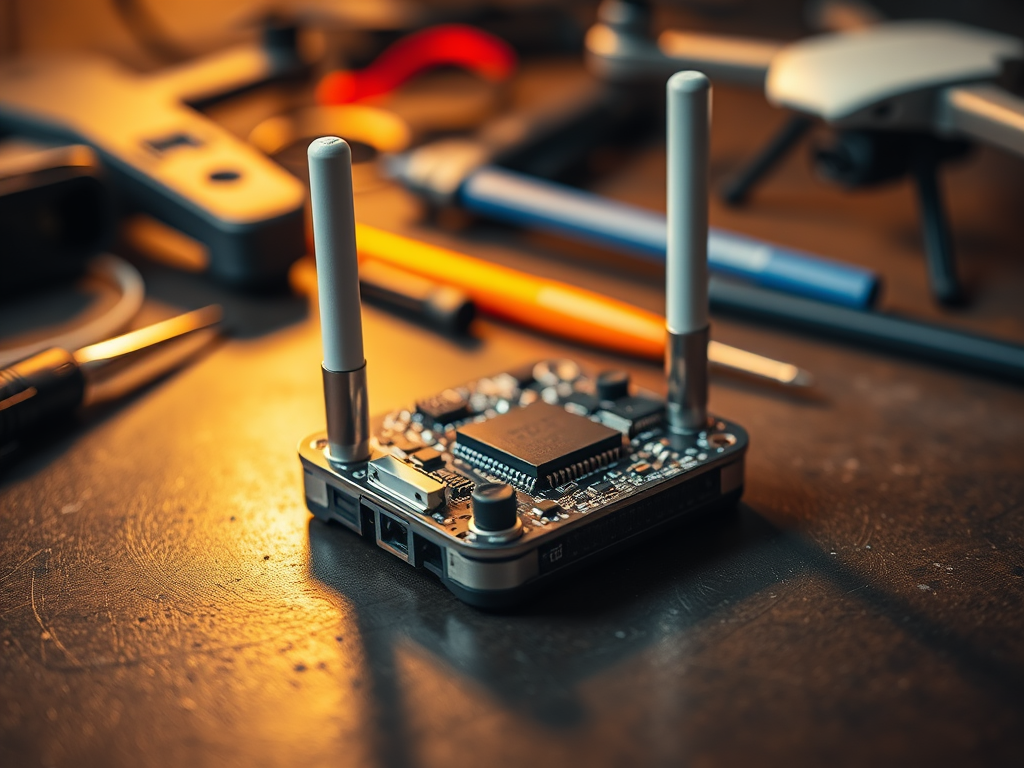
Choosing the Right Radio Receiver
When building your DIY drone, selecting the appropriate radio receiver is crucial for maintaining a stable connection between your transmitter and the aircraft. For our $150 long-range FPV drone build, we recommend using a reliable and cost-effective option that supports the ELRS (ExpressLRS) protocol.
ELRS Protocol: The Game-Changer
ELRS has revolutionized the FPV drone world with its exceptional performance and affordability. Here’s why it’s an excellent choice for your build:
- Ultra-low latency
- Extended range capabilities
- Robust signal strength
- Compatibility with various transmitters
Recommended Receiver Options
Here’s a comparison of some popular ELRS receivers suitable for our build:
| Receiver Model | Range | Weight | Antenna Type | Price Range |
|---|---|---|---|---|
| BetaFPV ELRS Nano | 10+ km | 0.7g | Single | $15-$20 |
| HappyModel EP1 | 15+ km | 1.1g | Dual | $20-$25 |
| Matek R24-S ELRS | 20+ km | 1.5g | Diversity | $25-$30 |
Installation Tips
When installing your chosen receiver:
- Position it away from other electronics to minimize interference
- Use double-sided foam tape for secure mounting
- Ensure the antenna is properly oriented for optimal signal reception
With the radio receiver sorted, we’re one step closer to completing our long-range FPV drone. Next, we’ll dive into selecting the right VTX antenna to complement our video transmission setup.
VTX Antenna
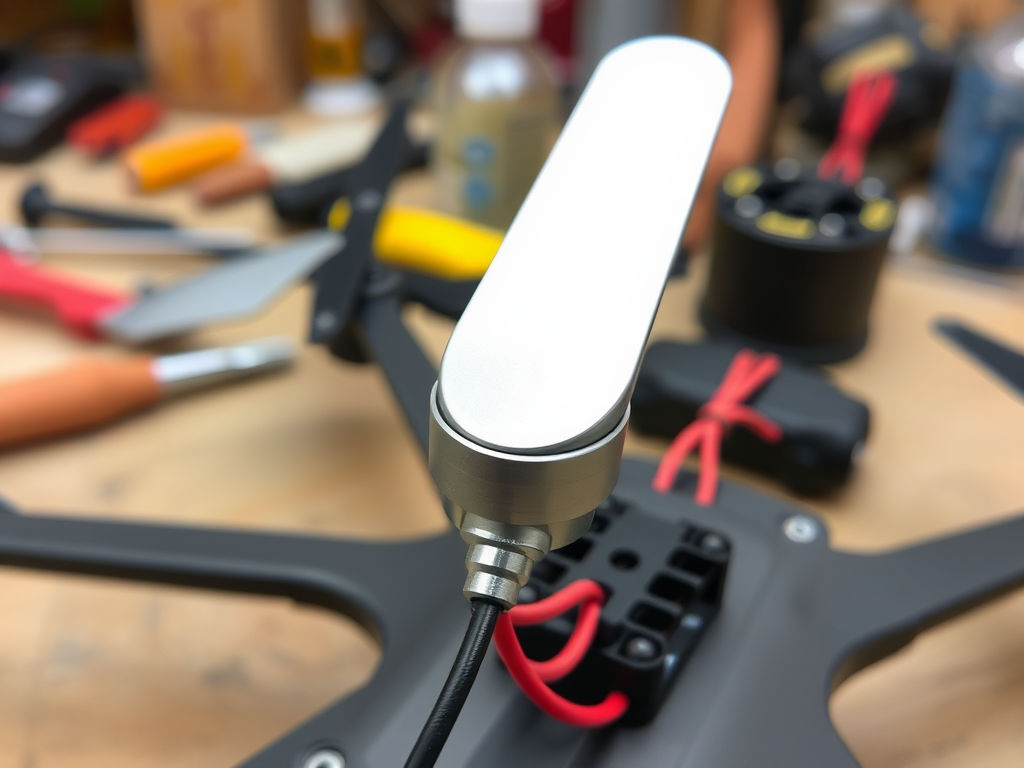
VTX Antenna Selection
Choosing the right VTX (Video Transmitter) antenna is crucial for your DIY drone’s video transmission quality. Here are some key factors to consider:
Types of VTX Antennas
- Linear Polarized Antennas
- Circular Polarized Antennas
| Antenna Type | Pros | Cons |
|---|---|---|
| Linear Polarized | – Simple design<br>- Lower cost<br>- Lighter weight | – Susceptible to multipath interference<br>- Limited range |
| Circular Polarized | – Better multipath rejection<br>- Longer range<br>- Improved signal quality | – More complex design<br>- Higher cost<br>- Slightly heavier |
Antenna Gain and Radiation Pattern
- Higher gain antennas offer better range but narrower beam width
- Lower gain antennas provide wider coverage but shorter range
Connector Types
- SMA
- MMCX
- U.FL
Choose a connector that matches your video transmitter’s output.
Durability and Mounting
- Look for flexible antennas to withstand crashes
- Consider antennas with protective casings
- Use antenna mounts to secure and position the antenna properly
For our $150 DIY drone build, we recommend a circular polarized antenna with moderate gain (2.5-3 dBi) and an SMA connector for optimal performance and durability. This choice balances cost, weight, and video quality for long-range FPV flights.
Now that we’ve covered the VTX antenna, let’s move on to selecting the right propellers for our custom drone build.
Propellers
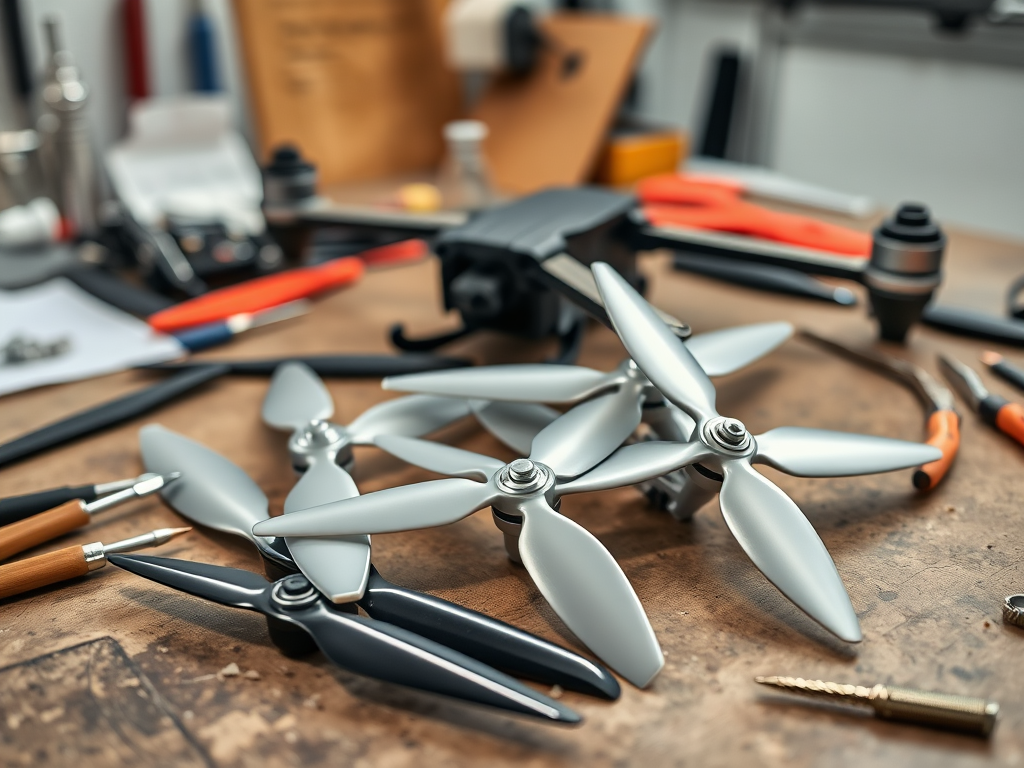
Choosing the Right Propellers
When it comes to DIY drone building, selecting the right propellers is crucial for optimal performance. For our 7″ long-range FPV drone, we recommend using 7-inch propellers with a pitch of 4 or 5. These propellers strike a balance between thrust and efficiency, making them ideal for long-range flights.
Types of Propellers
There are several types of propellers to consider:
- Bi-blade
- Tri-blade
- Quad-blade
Each type has its advantages, as shown in the table below:
| Propeller Type | Efficiency | Thrust | Noise Level |
|---|---|---|---|
| Bi-blade | High | Low | Low |
| Tri-blade | Medium | Medium | Medium |
| Quad-blade | Low | High | High |
For our long-range build, tri-blade propellers offer the best compromise between efficiency and thrust.
Material Considerations
Propeller materials also play a significant role:
- Plastic: Affordable and lightweight
- Carbon fiber: Durable and efficient, but more expensive
For beginners, plastic propellers are a good starting point due to their lower cost and ease of replacement.
Now that we’ve covered propellers, let’s move on to the extra materials you’ll need for your DIY drone build.
Extra Materials
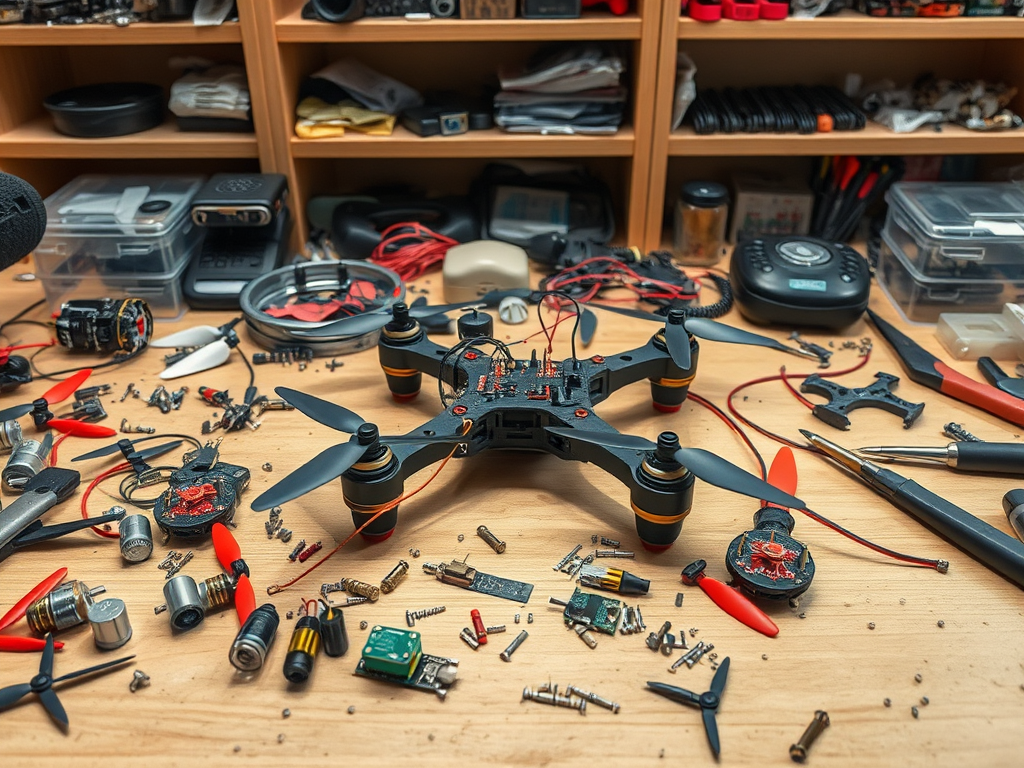
Extra Materials
When building your DIY drone, there are several additional materials you’ll need to complete the project successfully. These items are often overlooked but are crucial for assembly and maintenance. Let’s explore the essential extra materials you should have on hand:
Tools and Consumables
Here’s a list of tools and consumables you’ll need:
- Soldering iron and solder
- Wire cutters and strippers
- Hex driver set
- Zip ties
- Heat shrink tubing
- Double-sided foam tape
- Loctite thread locker
Spare Parts
It’s always wise to have spare parts available. Here’s a table of recommended spares:
| Part | Quantity |
|---|---|
| Propellers | 2 sets |
| Motor | 1 |
| ESC | 1 |
| Antenna | 1 |
| Screws and nuts | Assorted |
Safety Equipment
Don’t forget about safety! Essential safety items include:
- Safety glasses
- LiPo safe bag for battery storage
- Fire extinguisher (just in case)
Having these extra materials on hand will ensure a smooth building process and help you maintain your DIY drone in the long run. With your toolkit complete, you’re ready to move on to the next crucial step: selecting the right battery for your custom 7″ long-range FPV drone.
Battery
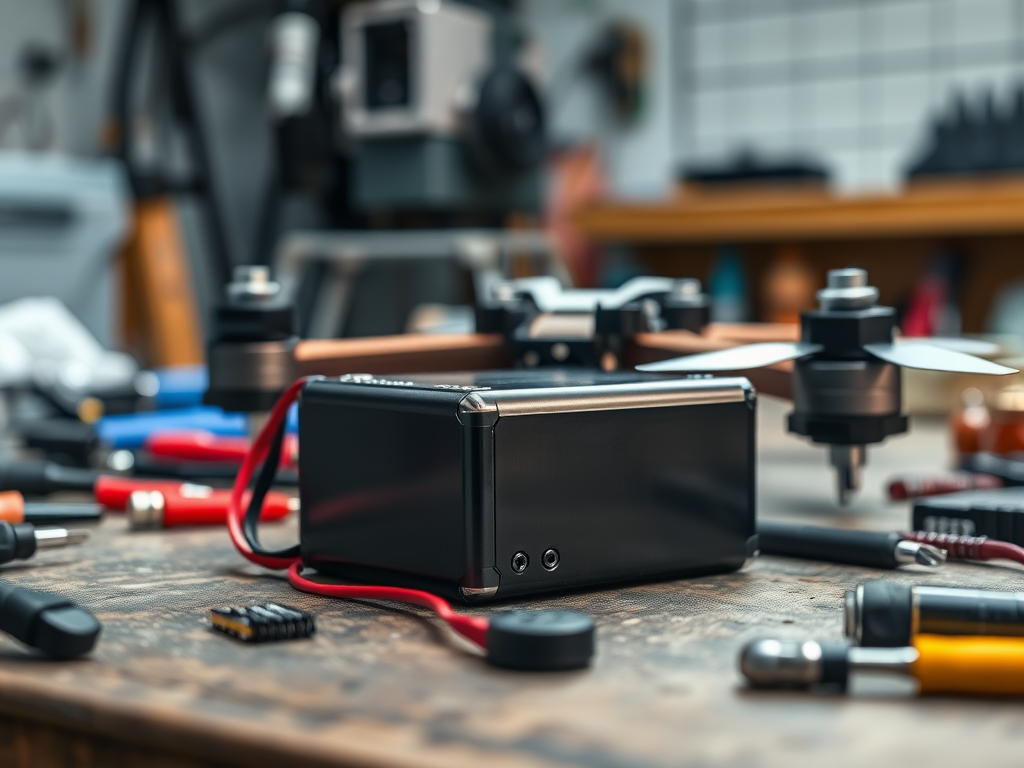
Battery Choices
When it comes to powering your DIY drone, choosing the right battery is crucial for optimal performance. Let’s explore the best options for your 7″ long-range FPV drone build.
Capacity and Voltage
For a 7″ long-range drone, a 4S or 6S LiPo battery with a capacity between 3000mAh to 5000mAh is ideal. Here’s a comparison of 4S and 6S batteries:
| Battery Type | Voltage | Pros | Cons |
|---|---|---|---|
| 4S LiPo | 14.8V | Lighter, More affordable | Slightly less power |
| 6S LiPo | 22.2V | More power, Longer flight times | Heavier, More expensive |
C-Rating
The C-rating of a battery determines its discharge rate. For FPV drones, aim for a C-rating of at least 75C to ensure stable power delivery during high-performance maneuvers.
Weight Considerations
- Lighter batteries (3000-4000mAh) : Better agility and responsiveness
- Heavier batteries (4000-5000mAh) : Longer flight times but reduced maneuverability
Battery Mounting
Secure your battery with:
- Velcro straps
- Battery pad for grip
- 3D printed battery cage (optional)
Remember to balance weight distribution for stable flight characteristics. With the right battery choice, your DIY drone will achieve impressive flight times and performance. Next, we’ll walk you through the building steps to bring your custom 7″ long-range FPV drone to life.
Building Steps
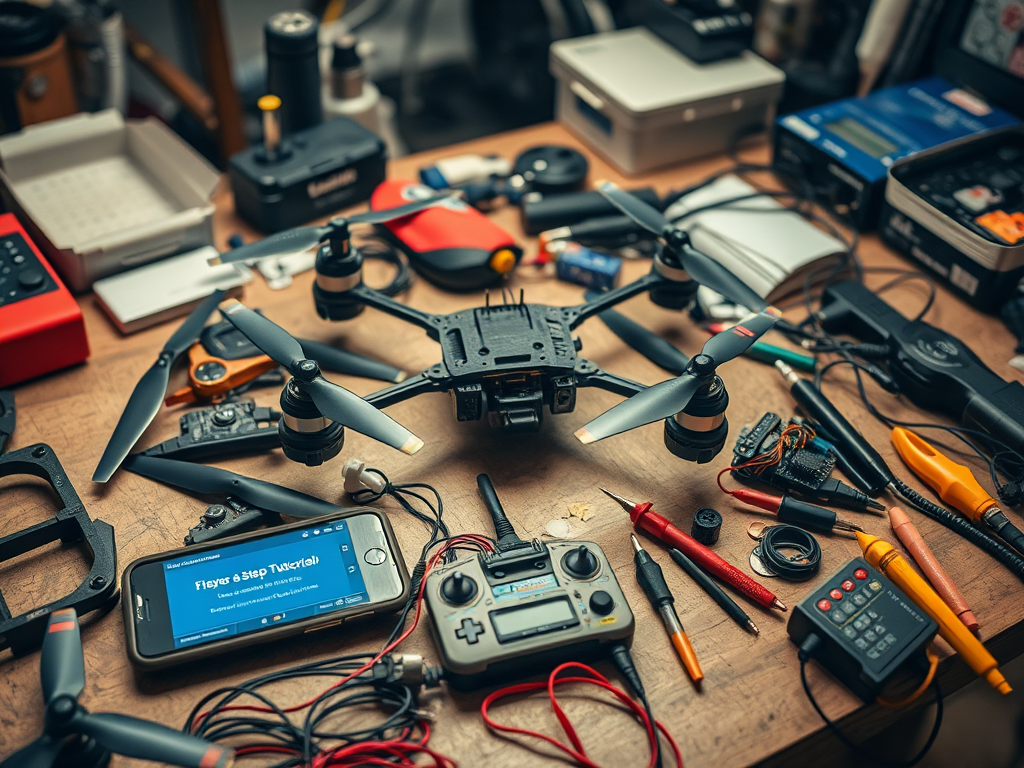
Assembling the Frame
To begin your DIY drone building journey, assembling the frame is crucial. Start by laying out all the frame components and ensuring you have the necessary tools. Here’s a step-by-step guide:
- Identify the main plate and arms
- Attach the arms to the main plate using provided screws
- Secure the top plate to complete the frame structure
| Frame Component | Quantity | Purpose |
|---|---|---|
| Main plate | 1 | Central hub |
| Arms | 4 | Support motors |
| Top plate | 1 | Protects electronics |
Mounting the Motors
With the frame assembled, it’s time to mount the motors. This step is critical for balanced flight:
- Align motors with the arm mounting holes
- Secure motors using provided screws
- Ensure all motors are tightened equally
Installing the FC Stack
The flight controller (FC) stack is the brain of your drone. Follow these steps:
- Mount the power distribution board (PDB) to the frame
- Install the flight controller above the PDB
- Connect ESCs to the FC following the wiring diagram
Finishing Off
To complete your DIY drone building process:
- Attach propellers to motors (ensure correct rotation direction)
- Mount the FPV camera and video transmitter
- Secure all wires and connections
With these steps completed, your custom 7″ long-range FPV drone is nearly ready for flight. Next, we’ll dive into the crucial Betaflight configuration to fine-tune your drone’s performance.
Betaflight Config
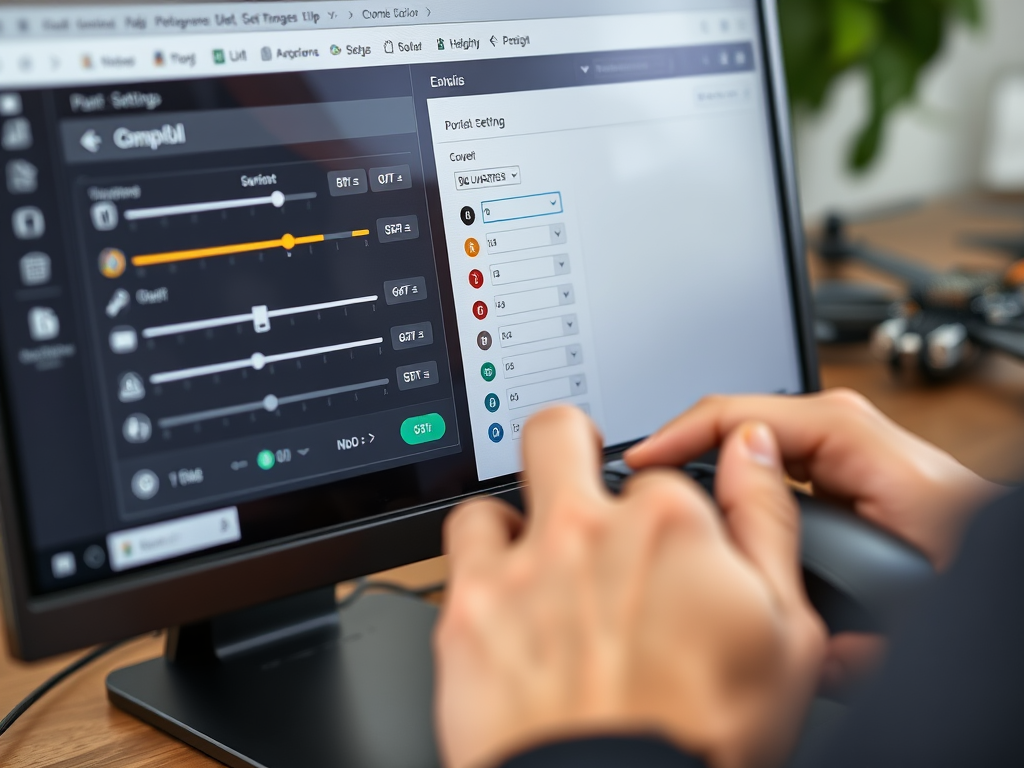
Betaflight Configuration
Now that we’ve assembled our DIY drone, it’s time to configure Betaflight, the software that will control our flying machine. Betaflight configuration is crucial for optimal performance and flight stability.
Initial Setup
- Connect your drone to your computer
- Launch Betaflight Configurator
- Select the correct COM port and click “Connect”
PID Tuning
PID (Proportional, Integral, Derivative) tuning is essential for smooth flight control. Here’s a basic starting point for our 7″ long-range drone:
| Parameter | Roll | Pitch | Yaw |
|---|---|---|---|
| P | 42 | 44 | 45 |
| I | 85 | 85 | 80 |
| D | 30 | 32 | 0 |
Rates and Expo
Configure your rates and expo settings to match your flying style:
- RC Rate: 1.00
- Super Rate: 0.70
- RC Expo: 0.00
Enabling Features
Enable these essential features for our long-range build:
- GPS Rescue
- OSD (On-Screen Display)
- Air Mode
- Anti-Gravity
Failsafe Configuration
Set up failsafe to ensure your drone responds safely if it loses connection:
- Choose “Drop” as the failsafe procedure
- Set throttle to 1000 (motor off)
- Configure GPS Rescue settings
With these Betaflight configurations, your DIY drone is ready for its maiden flight. Next, we’ll address common issues you might encounter during your build process.
What’s Wrong with Darwin129
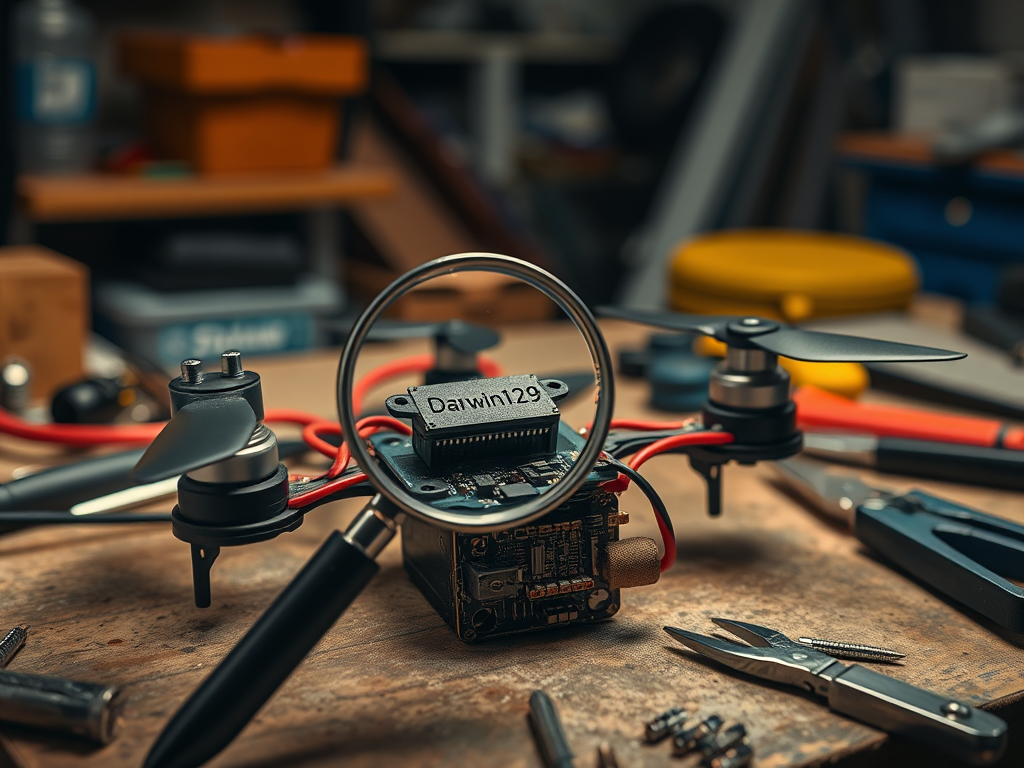
The Darwin129 Issue
The Darwin129 frame, while popular among DIY drone enthusiasts, has some notable drawbacks that are worth considering before incorporating it into your build. Let’s examine the key issues:
Design Flaws
- Arm Strength: The arms of the Darwin129 frame are relatively thin, making them prone to bending or breaking during crashes.
- Vibration Problems: The frame’s design can lead to increased vibration, potentially affecting flight stability and camera footage quality.
Compatibility Concerns
| Component | Compatibility Issue |
|---|---|
| FC Stack | Limited space for larger stacks |
| Battery | Restricted mounting options |
| GPS | No dedicated mounting point |
Alternative Options
Consider these alternatives to the Darwin129 frame for your DIY drone build:
- TBS Source One v5
- iFlight XL7 V4
- Hyperlite Floss 3.0
These frames offer improved durability, better component compatibility, and enhanced flight characteristics. While the Darwin129 has its merits, exploring these alternatives may lead to a more satisfying and robust DIY drone experience.
Now that we’ve examined the potential issues with the Darwin129 frame, let’s move on to the conclusion of our DIY drone building guide.
Conclusion
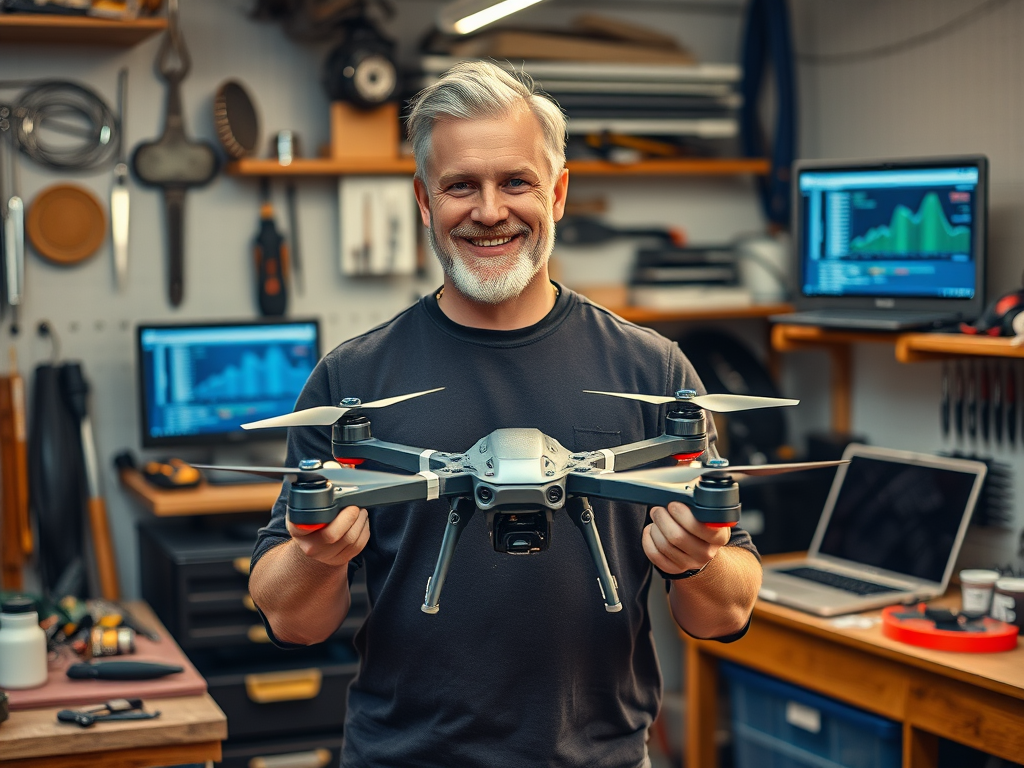
As we wrap up our journey through DIY drone building, let’s recap the key points and look towards the exciting future of your custom 7″ long-range FPV drone.
Key Takeaways
- Cost-Effective Solution: Building your own drone can save you money while providing a high-quality flying experience.
- Customization: DIY allows for tailoring your drone to specific needs and preferences.
- Learning Experience: The building process enhances your understanding of drone technology and mechanics.
Future Upgrades
Consider these potential upgrades to further enhance your drone:
- Advanced flight controller
- Higher quality camera
- More powerful motors
- Longer-lasting battery
Comparison: DIY vs. Pre-built Drones
| Aspect | DIY Drone | Pre-built Drone |
|---|---|---|
| Cost | Lower | Higher |
| Customization | High | Limited |
| Learning Value | Extensive | Minimal |
| Time Investment | Significant | Minimal |
| Repair Ease | Easier | Often challenging |
Building your own drone is more than just a cost-saving measure; it’s an adventure in engineering and a gateway to the fascinating world of aerial robotics. As you take to the skies with your custom-built machine, remember that each flight is a testament to your skill and creativity. The DIY drone building community is vast and supportive, so don’t hesitate to share your experiences and seek advice as you continue to refine and improve your flying machine. Happy flying!
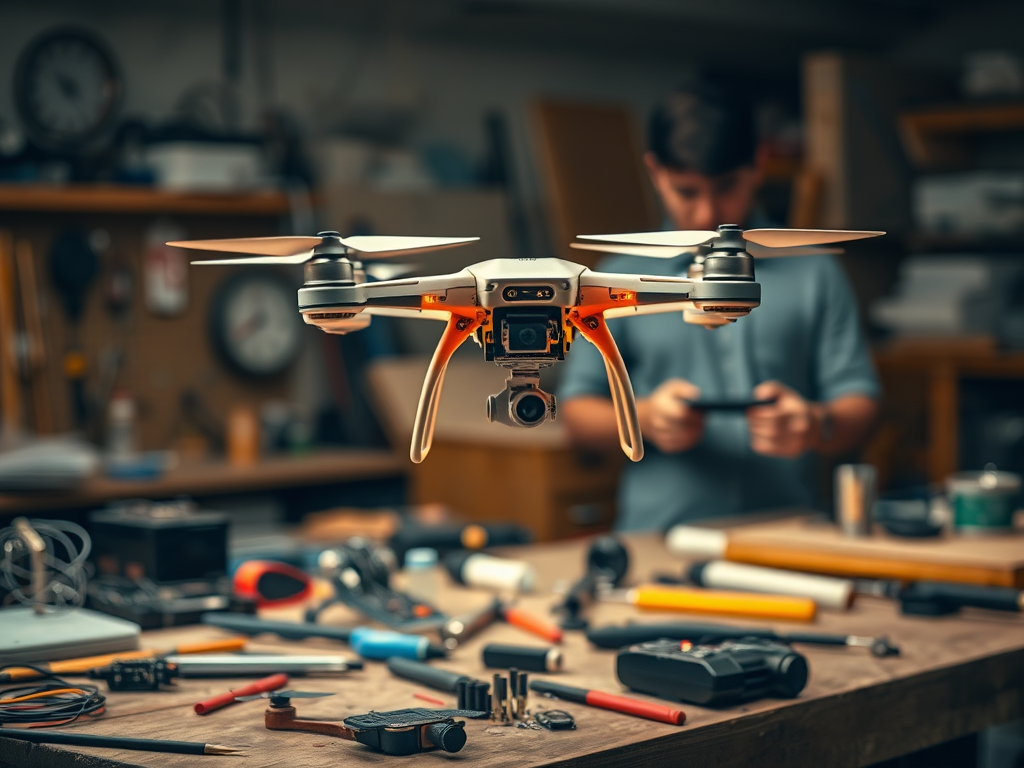
Building your own DIY drone is an exciting and rewarding project that can save you money while providing a custom-tailored flying experience. By following our comprehensive guide, you can create a 7″ Long Range FPV drone for just $150, opening up a world of possibilities for aerial photography, videography, and pure flying enjoyment.
From selecting the right components to configuring Betaflight, this guide has covered all the essential steps to help you build your dream flying machine. Remember, the key to success lies in careful planning, attention to detail, and a willingness to learn and troubleshoot along the way. So, gather your parts, charge your batteries, and prepare for takeoff – your custom-built drone adventure awaits!
